Floor Sanding Process
-
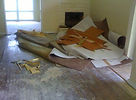
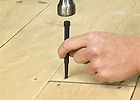
Preparation: Carpet removal, lino or tiles. Punching of nails, removing of staples from previse floor coverings.
-
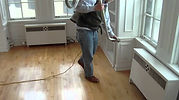
Rough Sand: The initial sanding step focus on levelling of the floor boards and old varnish and dirt off.
-
Repair: If any boards are found to be in bad or unusable conditions we will replace them (additional charges may apply)
-
Edging: Where the belt/drum sander cannot reach, we need to use a smaller sander called a edging sander.
-
Buffing: Using a buffing screen, make the surfaces ready to be coated and also check any scratches or machine marks remain on the floor.
-
Fine Sanding: Fine sanding removes all the rough scratches generated by initial sanding.
-
Filling Nails: Nails will be filled and any small knots will be filled with putty.
-
Vacuuming: One of the most important steps in the whole process is to vacuum the floor and blow dust away from the bench top, window and skirting board.
-
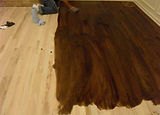
Staining: Staining your timber flooring will darken or lighten your floor. We can customise the colour to suit your personal preference.
-
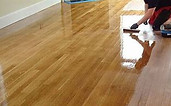
Polishing: Applying the first coat as what customer requested. Timber seal or primer may apply if it needs as the first coat.We need to allow 24 hours drying time for next coating (most solvent based polyurethane), water based products drys quicker. Give the floor light sanding between each coating.
